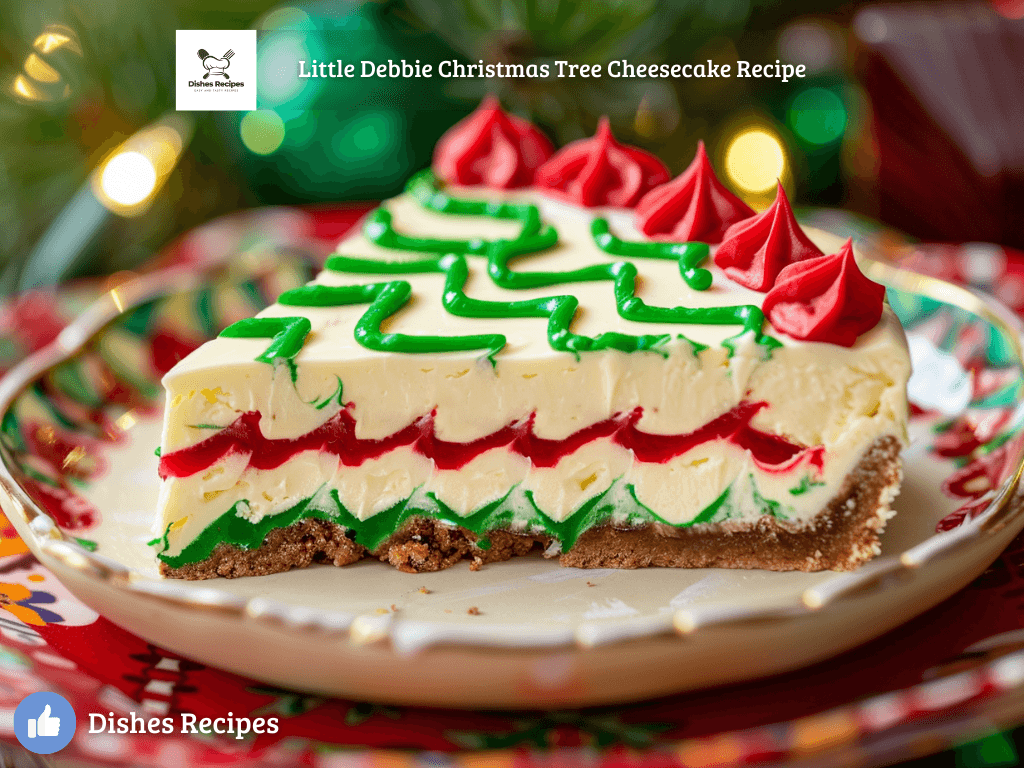
Create a magical holiday treat with our Festive Delight: Little Debbie Christmas Tree Cheesecake! Featuring cream cheese, whipped cream, and festive sprinkles.
Festive Delight: Irresistible Little Debbie Christmas Tree Cheesecake Creation
Introduction
As the holiday season approaches, kitchens everywhere come alive with the aromas of comforting spices, sweet treats, and festive goodies. This year, elevate your Christmas dessert table with a unique and utterly irresistible twist on a classic favorite—the Little Debbie Christmas Tree Cheesecake Creation! Combining creamy cheesecake with the beloved seasonal Little Debbie Christmas Tree Cakes, this dessert promises not only to delight your taste buds but also to steal the spotlight at your festive gatherings. Follow this detailed recipe to create a stunning and delicious masterpiece that captures the spirit of the holidays.
Ingredients
For the Crust:
- 1 ½ cups graham cracker crumbs
- ¼ cup granulated sugar
- ½ cup unsalted butter, melted
For the Cheesecake Filling:
- 24 oz (three 8-ounce packages) cream cheese, softened
- 1 cup granulated sugar
- 1 teaspoon vanilla extract
- 3 large eggs
- ¾ cup sour cream
- ¼ cup all-purpose flour
For the Topping:
- 6 Little Debbie Christmas Tree Cakes
- 1 cup heavy whipping cream
- 2 tablespoons powdered sugar
- 1 teaspoon vanilla extract
- Holiday sprinkles for garnish
Instructions
Step 1: Prepare the Crust
- Preheat your oven to 325°F (165°C). Grease a 9-inch springform pan with a non-stick baking spray or line it with parchment paper.
- In a medium bowl, combine the graham cracker crumbs and granulated sugar.
- Pour in the melted butter and mix until the crumbs are evenly moistened.
- Press the mixture into the bottom of the prepared springform pan, ensuring it’s even and compact. Use a flat-bottomed glass or measuring cup for a smooth and firm crust.
- Bake in the preheated oven for 10 minutes, then allow to cool slightly while you prepare the filling.
Step 2: Make the Cheesecake Filling
- In a large mixing bowl, beat the softened cream cheese with an electric mixer until smooth and creamy.
- Gradually add the granulated sugar and continue to beat until well combined.
- Mix in the vanilla extract, then add the eggs one at a time, beating well after each addition. Ensure the mixture is smooth and lump-free.
- Gently fold in the sour cream and flour, mixing until just combined.
- Pour the cheesecake batter over the pre-baked crust, spreading it evenly with a spatula.
Step 3: Bake the Cheesecake
- Place the springform pan onto a baking sheet to catch any drips, then place it into the preheated oven.
- Bake the cheesecake for 45-55 minutes, until the center is set but still slightly jiggly. Check periodically to ensure even baking.
- Once baked, turn off the oven and crack the oven door slightly, allowing the cheesecake to cool gradually for an hour.
- Remove from the oven, cover with plastic wrap, and refrigerate for at least 4 hours, preferably overnight.
Step 4: Prepare the Topping and Assemble
- Once the cheesecake is thoroughly chilled, whip the heavy cream, powdered sugar, and vanilla extract in a chilled mixing bowl until soft peaks form.
- Carefully spread a layer of the whipped cream on top of the cheesecake.
- Cut the Little Debbie Christmas Tree Cakes into halves or quarters and arrange them decoratively on top of the whipped cream layer.
- Sprinkle with festive holiday sprinkles for a vibrant and celebratory finish.
Conclusion
There you have it—the stunning and scrumptious Little Debbie Christmas Tree Cheesecake Creation! This delightful dessert not only melds the creamy decadence of traditional cheesecake with the whimsical charm of Little Debbie Christmas Trees but also brings a touch of nostalgic cheer to your holiday festivities. Perfect for sharing with loved ones or indulging on your own, this cheesecake is bound to become a holiday favorite. Relish in creating and savoring this treat, capturing the joyous essence of the season in every bite. Happy Holidays!
1 thought on “Little Debbie Christmas Tree Cheesecake Recipe 2024”