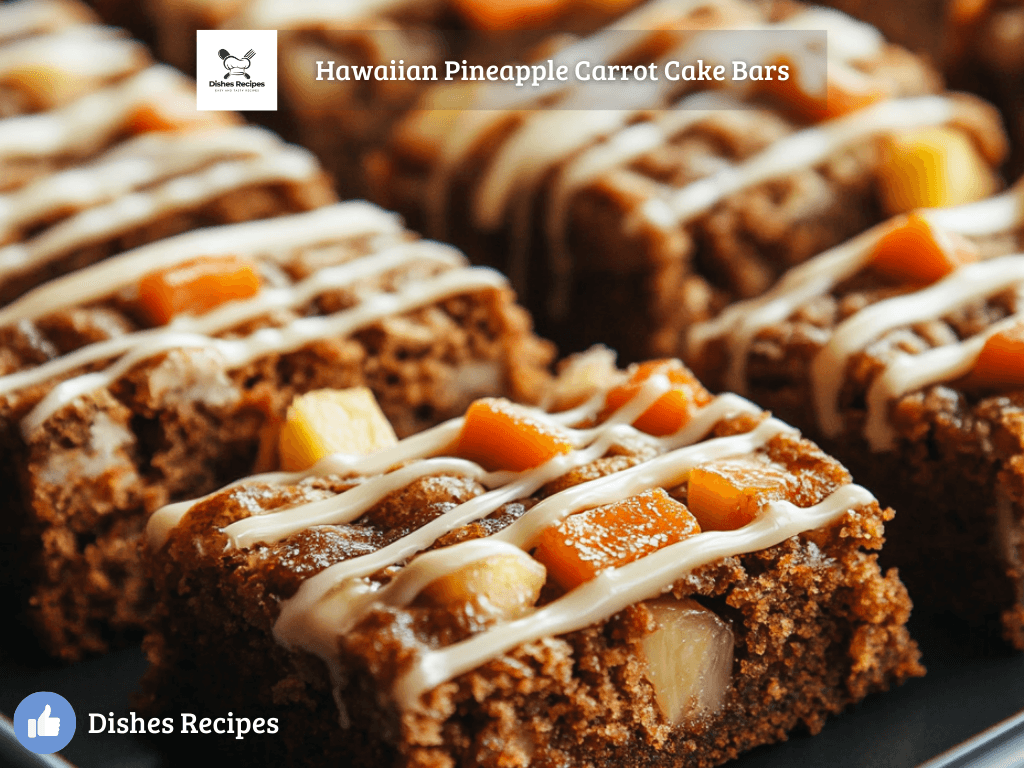
Discover how to make Tropical Delight: Hawaiian Pineapple Carrot Cake Bars with a blend of fresh pineapple, carrots, coconut, and nuts for a sweet, sunny treat!
Tropical Delight: Hawaiian Pineapple Carrot Cake Bars to Brighten Your Day
Welcome to your new favorite dessert that perfectly blends the tropical flavors of Hawaii into a classic treat. These Hawaiian Pineapple Carrot Cake Bars are an irresistible fusion of sweet pineapple, fresh carrots, and warm spices, topped with a luscious cream cheese frosting. It's the perfect way to bring a little sunshine into your kitchen, regardless of the weather outside. So, dust off your apron, and let's bake some magic!
Ingredients:
For the Carrot Cake Bars:
- 1 cup all-purpose flour
- 1 teaspoon baking powder
- 1/2 teaspoon baking soda
- 1/2 teaspoon salt
- 1 teaspoon ground cinnamon
- 1/2 teaspoon ground ginger
- 1/4 teaspoon ground nutmeg
- 1/2 cup granulated sugar
- 1/2 cup light brown sugar, packed
- 1/2 cup vegetable oil
- 2 large eggs
- 1 teaspoon vanilla extract
- 1 cup finely grated carrots (about 2 medium carrots)
- 1 cup crushed pineapple, drained
- 1/2 cup shredded coconut
- 1/2 cup chopped walnuts (optional)
For the Cream Cheese Frosting:
- 8 oz cream cheese, softened
- 1/4 cup unsalted butter, softened
- 2 cups powdered sugar
- 1 teaspoon vanilla extract
- Pineapple slices or chunks, for garnish (optional)
- Shredded coconut, for garnish (optional)
Instructions:
Step 1: Prepare the Pan and Preheat the Oven
- Preheat your oven to 350°F (175°C).
- Line a 9×13 inch baking pan with parchment paper, leaving some overhang on the sides for easy removal. Lightly grease the parchment paper.
Step 2: Mix the Dry Ingredients
- In a medium-sized bowl, whisk together the all-purpose flour, baking powder, baking soda, salt, cinnamon, ginger, and nutmeg. Set this dry mixture aside.
Step 3: Mix the Wet Ingredients
- In a large mixing bowl, whisk together the granulated sugar, brown sugar, and vegetable oil until well combined.
- Add in the eggs one at a time, beating well after each addition. Stir in the vanilla extract.
Step 4: Combine Wet and Dry Mixtures
- Gradually add the dry ingredients to the wet ingredients, mixing gently until just combined. Be careful not to overmix to ensure a tender cake.
- Fold in the grated carrots, crushed pineapple, shredded coconut, and walnuts (if using) until evenly distributed throughout the batter.
Step 5: Bake the Cake Bars
- Pour the batter into the prepared baking pan and spread it out into an even layer.
- Bake in the preheated oven for 25-30 minutes, or until a toothpick inserted into the center comes out clean.
- Once baked, remove the bars from the oven and allow them to cool completely in the pan on a wire rack.
Step 6: Prepare the Cream Cheese Frosting
- In a medium bowl, beat together the softened cream cheese and butter until smooth and creamy.
- Gradually add in the powdered sugar, one cup at a time, mixing until smooth and well incorporated.
- Stir in the vanilla extract until combined.
Step 7: Frost the Bars
- Once the cake has cooled completely, spread the cream cheese frosting evenly over the top.
- For an extra tropical touch, garnish with slices or chunks of pineapple and a sprinkle of shredded coconut.
Step 8: Serve and Enjoy
- Use the parchment overhang to lift the frosted cake from the pan.
- Cut into bars of desired size, serve, and prepare to be transported to a tropical paradise with each bite!
Conclusion:
These Hawaiian Pineapple Carrot Cake Bars are more than just a dessert; they're an escape to a tropical retreat in your kitchen. With the sweetness of pineapple, the warmth of spices, and the creamy richness of the frosting, they're sure to be a hit. Whether you’re sharing them at a gathering or enjoying them on a peaceful afternoon, they’ll undoubtedly bring a smile to your face. Happy baking!